
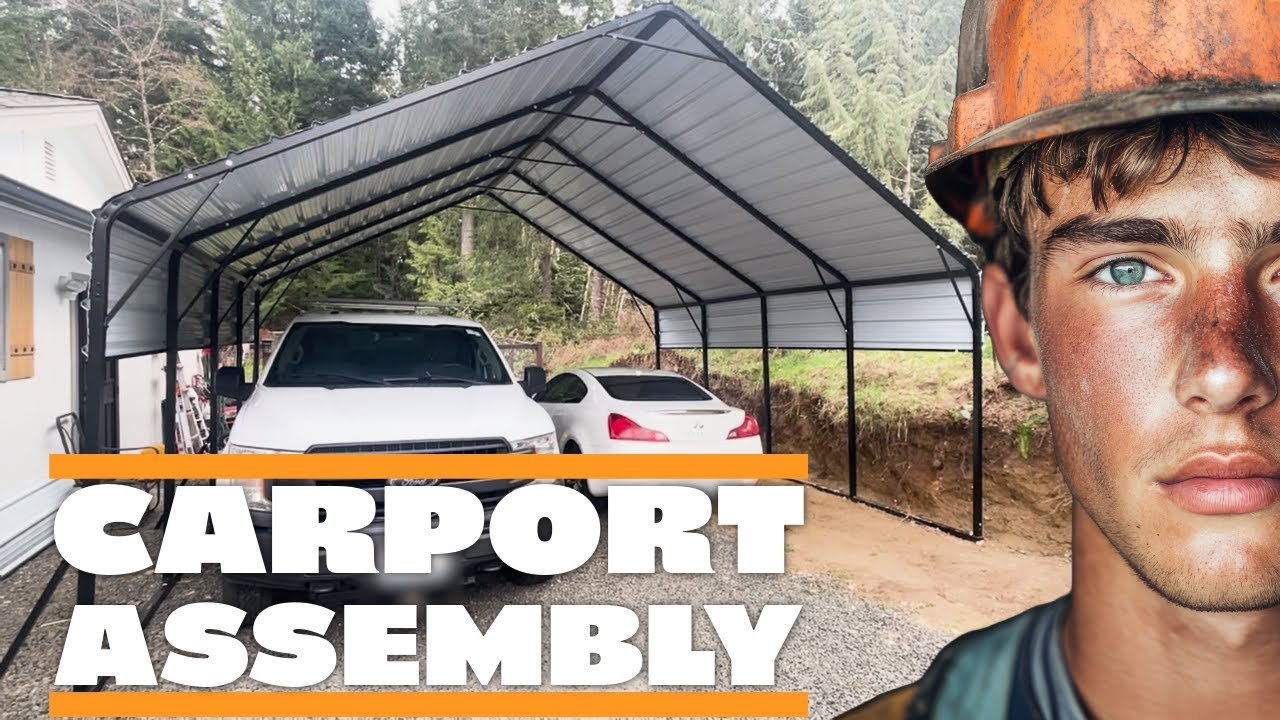
I had to take parts of this 20×20 metal carport back apart because I put them together with the bolt holes facing the wrong way. If I were building it again, that’s the first thing I’d check. The other big decision was how to get the roof on. I didn’t have the people or equipment to lift the completed roof, so I built the frame first and put the roof sheets on after.
What I built
This is the open-sided GarveeLife 20×20 metal carport, listed as 20×20×13 ft. I wanted the galvanized steel roof rather than the fabric cover you see on some carports. The 13 ft is part of the advertised overall size. Before planning to park an RV or boat under it, measure the clearance you actually need under the opening and along your approach. I show the finished space at 2:15.
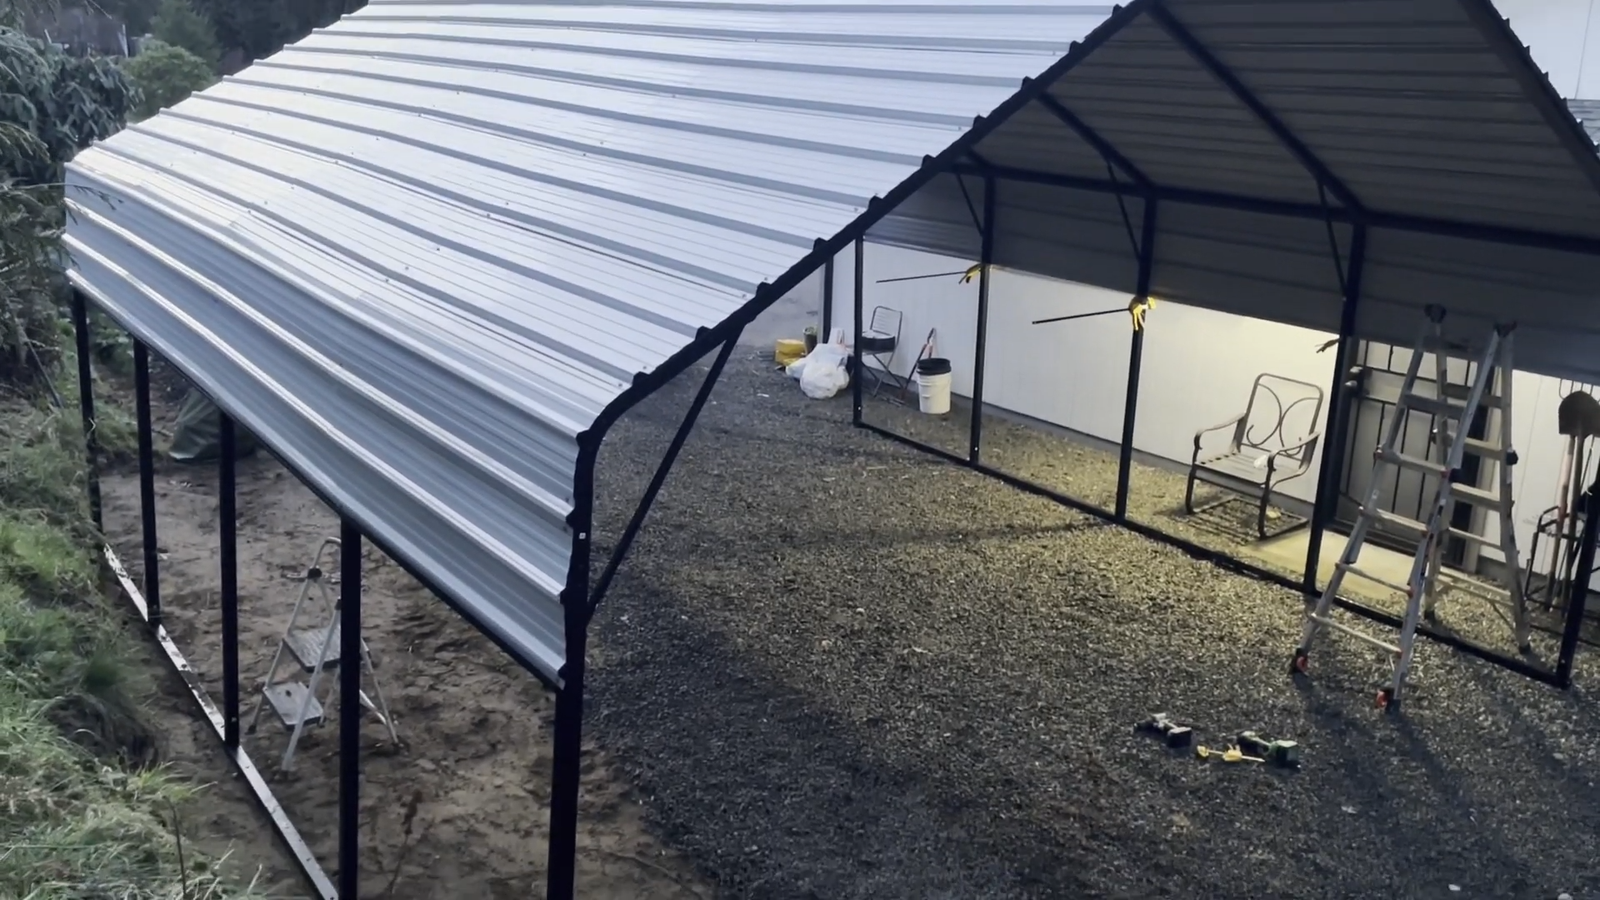
Lay out the frame and check which way the holes face
I started on a level spot and laid out the parts so I could see what I was working with. At 0:49, I walk through the frame pieces. The parts can look like they’ll fit either way until you try to attach the next piece. On mine, I needed to check both sides of the channel to see where the bolts and the next connection would go. I had to redo that more than once.
The horizontal beam ties the uprights together, and the angled braces are a separate part of the frame. I show those connections around 1:20. What would’ve saved me time: set the matching pieces side by side, check the hole pattern against the diagram, and make sure the brace can reach its attachment point before moving on to the next section.
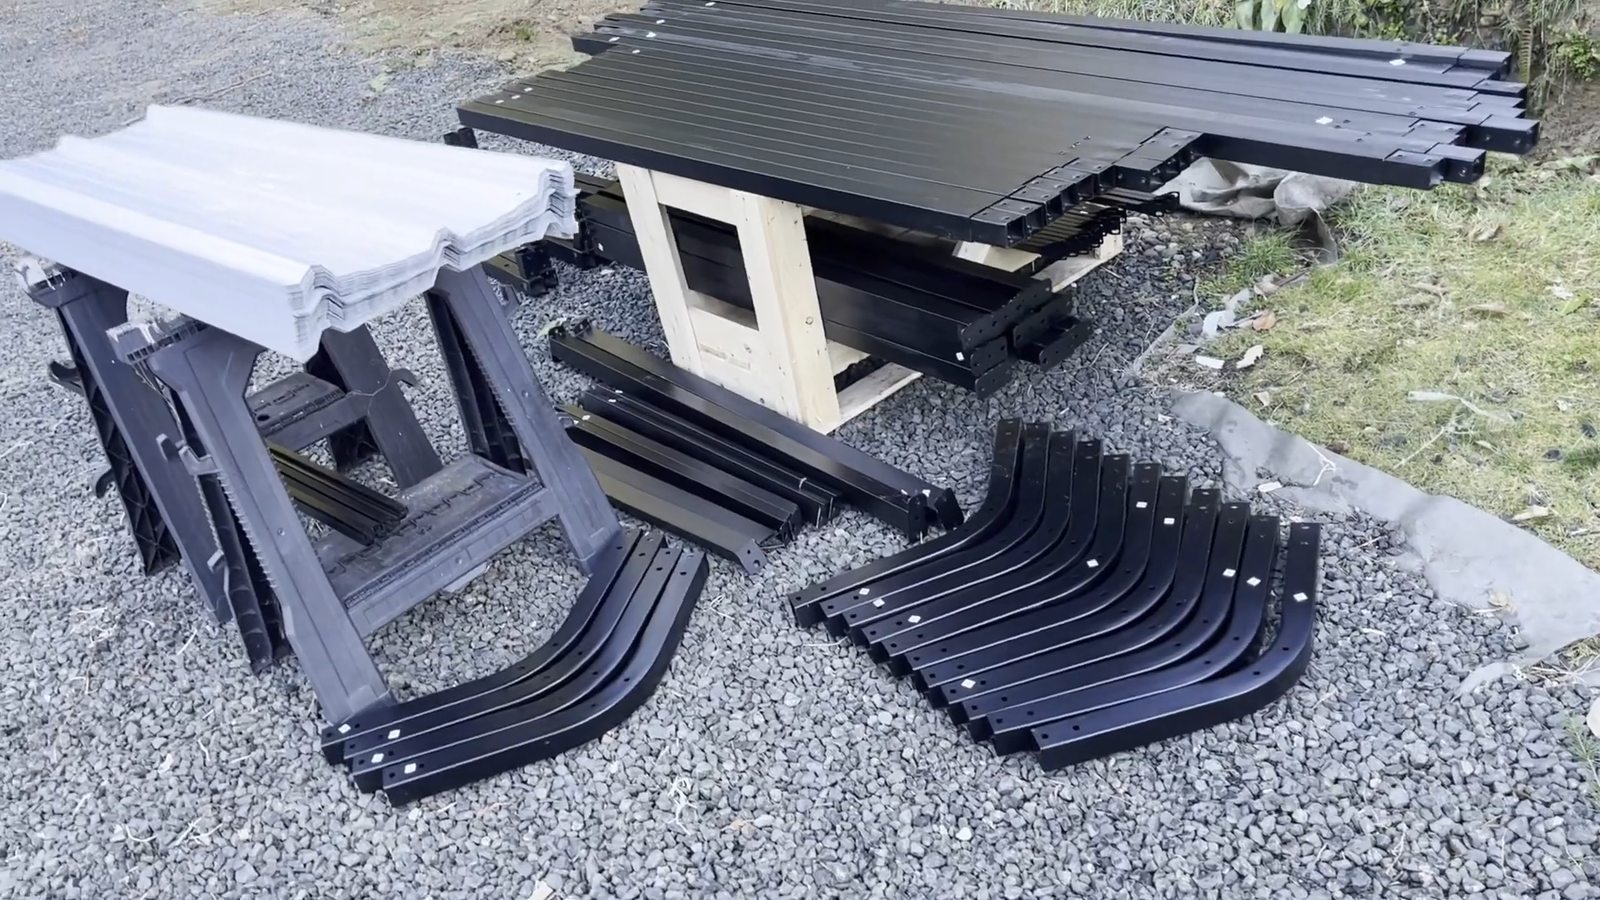
Why I put the roof sheets on after the frame
By 1:46, I explain why I didn’t try to lift the completed roof. It was heavy, and I didn’t have the crew or equipment for that lift. The video shows the order I used on this build, not a recommendation to lift or assemble the frame alone. Follow the instructions for the exact kit you have and get help with lifting, bracing, and working overhead.
My roof sheets already had holes. I used self-tapping screws to secure them to the frame. I found it easier to predrill where the fastener went into the frame, but I’d check the instructions for your kit before drilling anything. Around 2:01, you can see the roof section I’m talking about. It helped to check how the sheets overlapped before fastening the next panel.
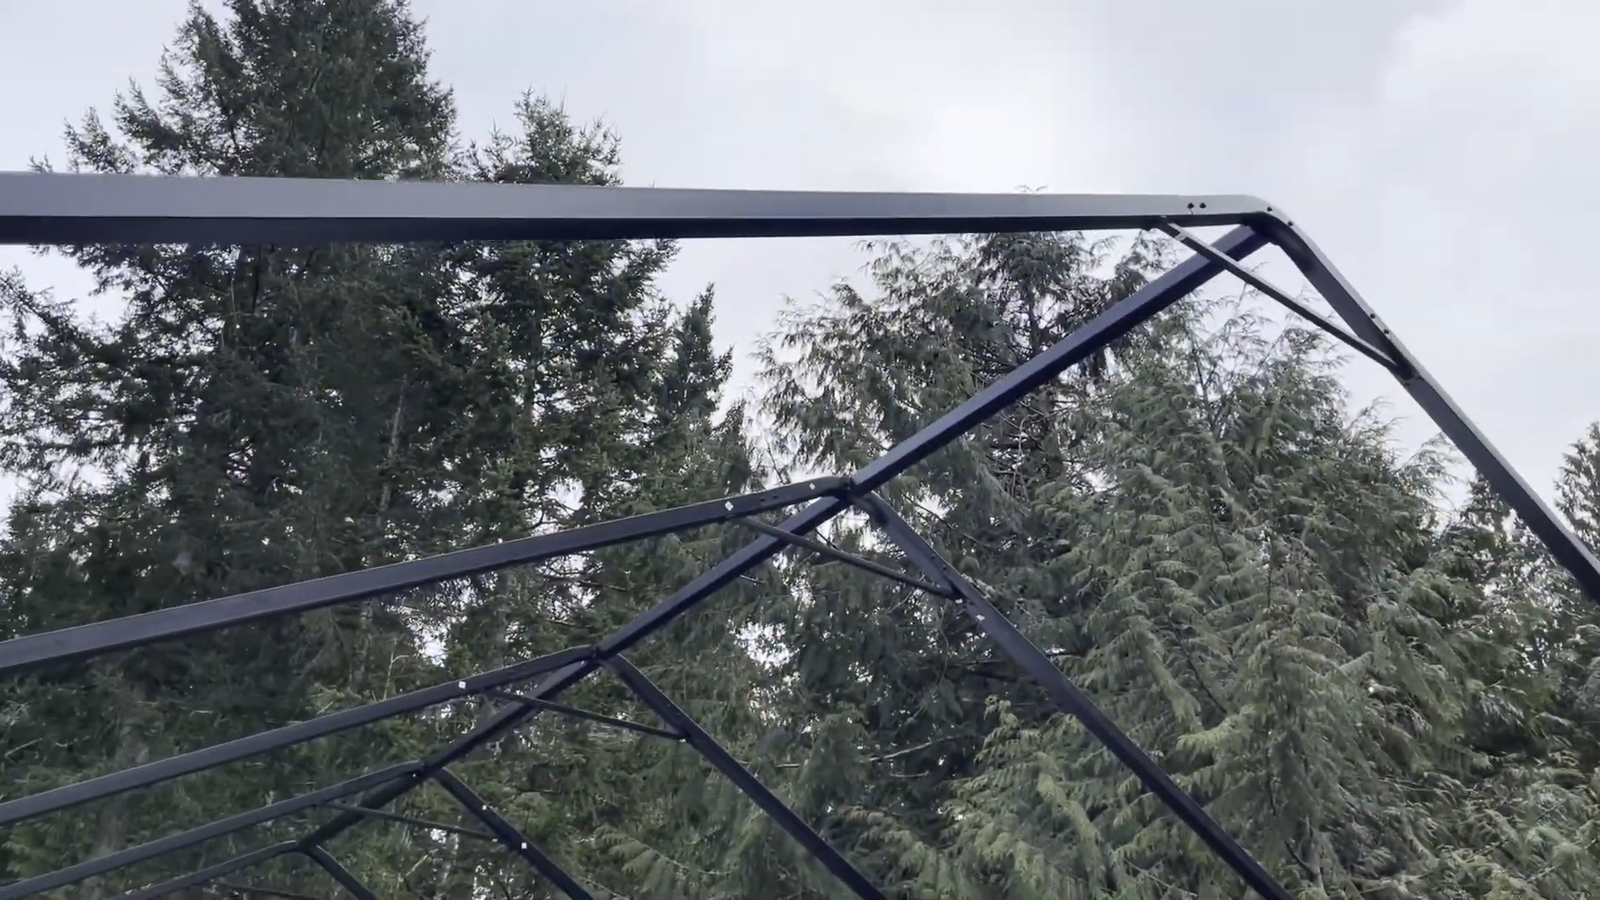
What I’d do before starting again
I’d sort the hardware and frame pieces first, check the hole direction before bolting matching sections together, and have extra hands lined up before starting the roof. I’d also check the manufacturer’s anchoring and site requirements up front. I’m showing how mine went together. I didn’t test a wind or snow rating.
Affiliate disclosure: As an Amazon Associate I earn from qualifying purchases. See the 20×20 GarveeLife carport linked in my video (Amazon ASIN B0FC1MKC88).
If you’re comparing sizes, I also filmed a separate 20×25×14 GARVEE roof install and a 12×20 enclosed GarveeLife shed build. The frame and roof details in those posts are for different kits.