
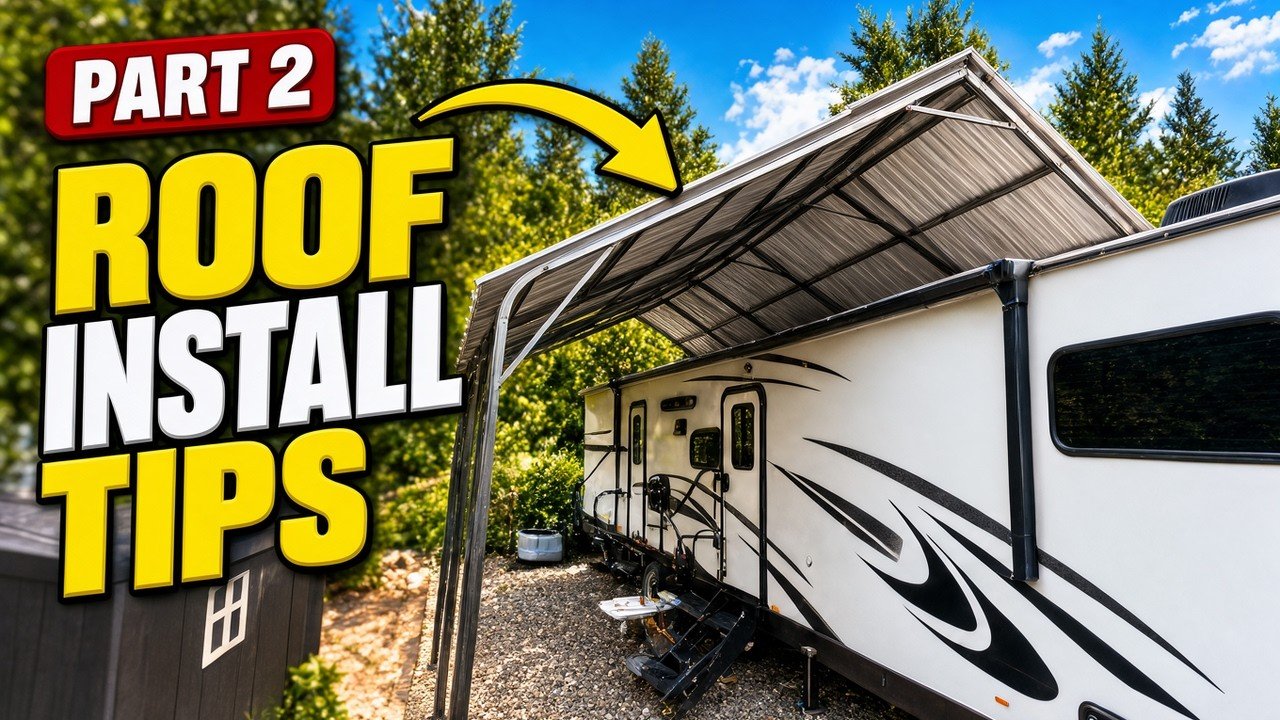
Finishing the metal roof on my GARVEE 20 × 25 × 14 ft carport came down to three things: starting the first panel in the right direction, keeping the overlaps consistent, and putting in the ridge supports before I lost access to them. If you’re standing next to a stack of similar-looking panels wondering which one goes where, that’s where I’d start.
This is Part 2 of my build. I’m focusing on the roof panels, the ridge, and a couple of checks you can make from underneath. For the earlier assembly, watch Part 1.
A note before you start: These are tips from my install, not the full assembly instructions. Follow the manual for your exact kit for panel orientation, overlap, fastener locations, and the order of assembly. Use appropriate fall protection and lifting equipment when working at roof height.
Sort the roof panels before lifting the first one
The roof pieces looked similar enough that I wanted to know which was which before I started putting them up. In this kit, the piece marked L was longer and the one marked R was shorter. I’d separate the pieces by their marks and lengths on the ground so I’m not trying to figure that out at the roof.
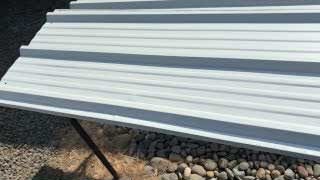
Get the first panel lined up and leave room for the overlap
The first panel sets the line for the rest of the roof. Check which way it faces and look at where the next piece needs to slide in. In the video, I show the edge I left accessible for that next panel. That overlap is worth looking at before the first panel is fully fastened. Follow the manual rather than guessing how much overlap to leave or where the screws go.
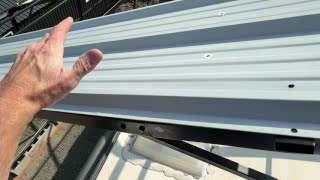
Put in the ridge supports while you can still reach them
The part I’d plan for ahead of time is the ridge. I put the support pieces in while I could still reach them, then worked on the cap that covers the peak. The video shows the support piece separately from the cap, which makes it easier to identify them when you’re sorting the kit.
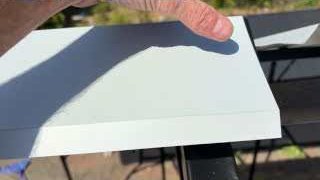
Check both the overlap and the fasteners from underneath
When I slid in the lower panel, I checked from underneath that it went under both layers at the overlap, not just the visible edge. That underneath view tells you more than looking at the seam from above.
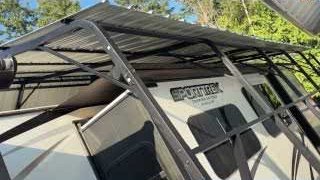
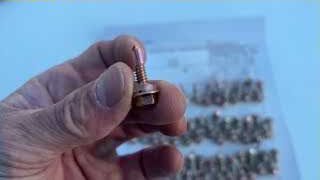
I also checked where the roof screws landed. The point I show in the video is that a screw needs to catch the steel frame. Two sheets held together aren’t the same thing as a panel fastened to the frame. Use the fasteners and attachment points specified in your kit manual.
What I’d check before calling the roof done
I’d look down the length of the roof for a consistent line, then check the overlaps and that the fasteners meet the frame where the manual calls for them. If I were doing this again, I’d spend a little more time getting that first panel right and have the ridge supports handy before the roof closed off access.
Working with the smaller kit? See my GARVEELIFE 12×20 carport assembly guide.
Affiliate disclosure: I may earn a commission if you buy through the link below. As an Amazon Associate I earn from qualifying purchases.
View the GARVEE 20 × 25 × 14 ft carport on Amazon (paid link).