
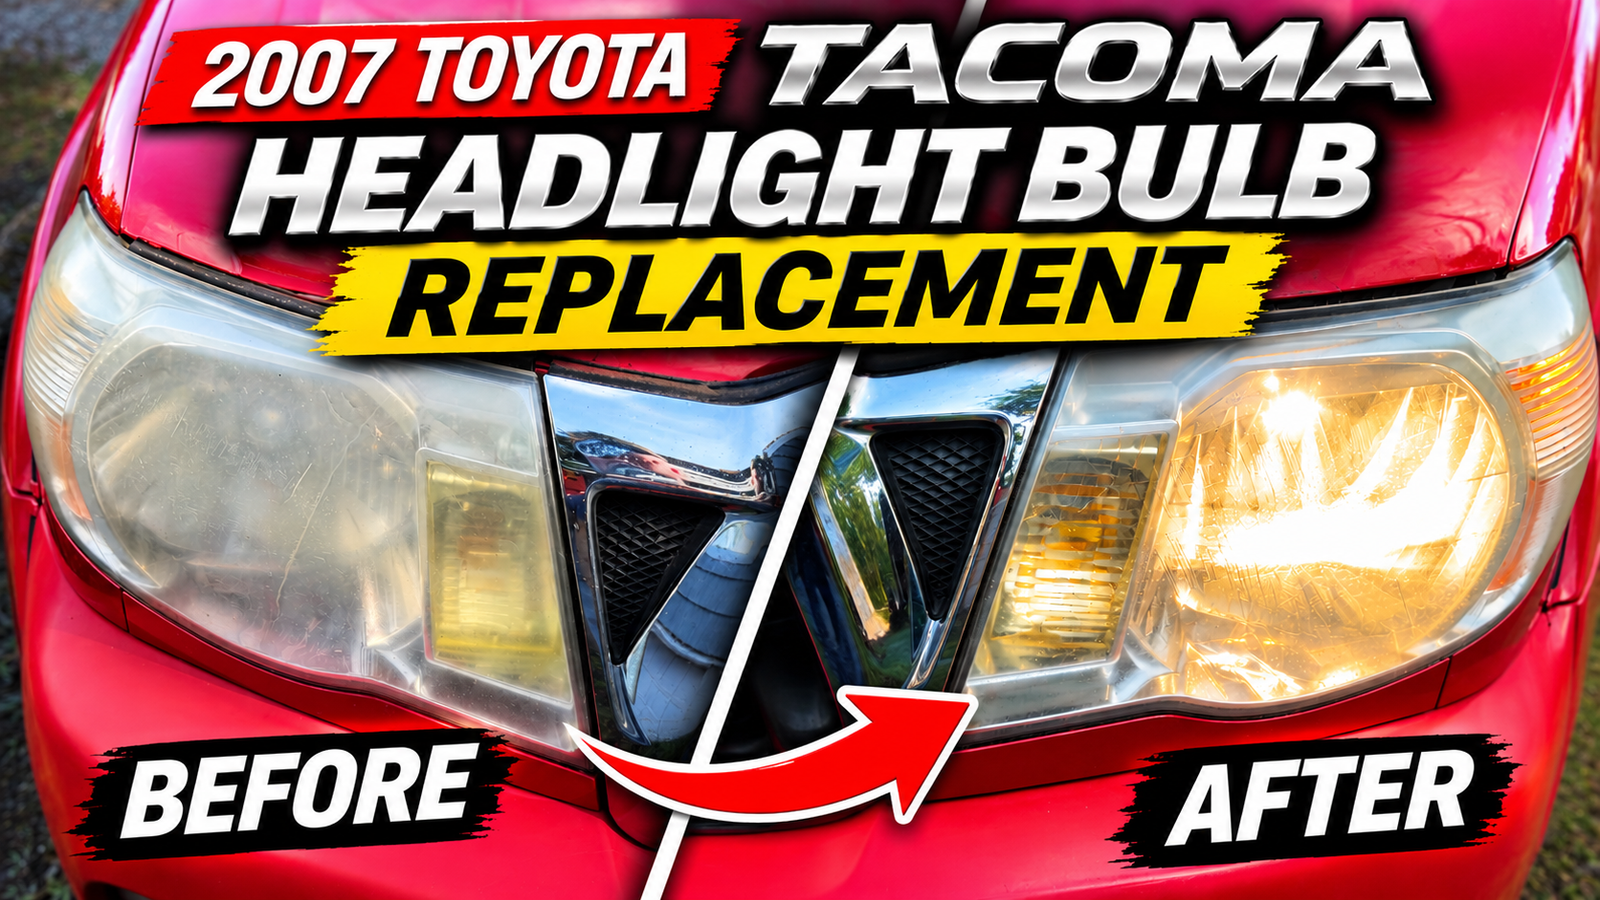
Replacing the headlight bulb on my 2007 Toyota Tacoma starts from behind the headlight, under the hood. In my video, I unplug the connector, remove the rubber cover, release the metal retaining spring, and fit the new bulb into the same opening. I leave the headlight housing in place.
I chose the SYLVANIA SilverStar Ultra replacement bulbs with nighttime visibility in mind. As I’ve gotten older, I feel like I do not see as well at night, so that was an important part of my decision. This article walks through installing them on my Tacoma, including the bulb alignment and spring clip that can be awkward to see behind the housing.
The part that deserves the most attention is seating the replacement bulb. Its mounting tabs need to line up with the cutouts so the base sits flush before the spring clip is locked. Near the end of the video, I show that connection from the other side for a clearer view.
Affiliate disclosure: As an Amazon Associate, I earn from qualifying purchases. If you buy through my links, I may earn a small commission at no extra cost to you. It helps support SLVRBCK Troop.
What you need before you start
Have a replacement bulb that matches your truck’s headlight assembly, a light to see behind the housing, and clean gloves ready. My linked product is the SYLVANIA 9003 SilverStar Ultra halogen bulb two-pack. Confirm the bulb type against your existing bulb, owner’s manual, and exact headlight assembly before ordering, especially if the housings have been changed.
Park securely, set the parking brake, and switch off both the ignition and headlights. Let the bulb and nearby engine parts cool. Handle a halogen bulb by its base, keep bare fingers off the glass, and avoid scratching or dropping it. These precautions are covered in Toyota’s bulb-replacement guidance.
1. Open the hood and find the back of the headlight
Open and securely support the hood. Look behind the headlight you are working on and locate the electrical connector and round rubber cover. Take a moment to see how the parts are arranged before pulling anything apart.
Video reference: access behind the headlight — 0:00.
2. Unplug the electrical connector
Grip the connector body and pull it off the bulb’s terminals. In the video, this is the first piece I disconnect. Pull on the connector rather than the wires; if it is snug, use a gentle wiggle instead of forcing it. Release any connector latch fitted to your assembly.
Video reference: disconnecting the plug — 0:08.
3. Pull off the rubber cover
Remove the rubber cover from the back of the housing. I call it a rubber grommet in the video. With it out of the way, you can see the bulb base and the thin metal spring holding the bulb in place. Keep the cover nearby for reassembly.
Video reference: removing the rubber cover — 0:18.
4. Release the spring clip and remove the old bulb
Locate the hooked end of the retaining spring. Press it inward and move it clear of its catch, then swing the spring away from the bulb. You are releasing the spring, not removing its mounting hardware. In my demonstration, the clip comes free with a small inward press.
Once the spring is clear, withdraw the bulb by its base. I show the failed filament inside the old bulb after removing it. Remember that this assembly uses a retaining spring; the bulb is not removed by twisting a locking collar.
Video reference: spring location — 0:26 · releasing it — 0:43.
5. Align the new bulb and seat it flush
Hold the retaining spring fully out of the opening, then guide the new bulb into position by its base. Match the three mounting tabs around the base to the corresponding cutouts in the housing. These locating tabs are separate from the electrical terminals at the rear.
This is the detail I emphasize in the video: the bulb should sit flush in its seat. If it rocks or sits at an angle, lift it back out slightly and check the tab alignment. Do not use the spring clip to force a crooked bulb into place.
Video reference: fitting the replacement — 1:02 · alternate view of the three tabs — 2:03.
6. Lock the retaining spring back into its catch
Keep the bulb seated while bringing the spring back across its base. Press the hooked end into its retaining catch. Check that the spring is captured and the bulb remains flush. The close-up at the end of my video shows where the spring sits behind the catch.
Video reference: securing the spring — 1:29 · close-up of the catch — 2:25.
7. Refit the rubber cover and reconnect the plug
Press the rubber cover back into place, with the electrical terminals protruding through its center. Seat it securely around both the bulb base and the housing. Then reconnect the electrical plug firmly to the terminals.
Before closing the hood, make sure the cover is seated all the way around and no wiring is trapped. Turn on the headlights and check both low and high beam, keeping hands clear of hot parts. If the light pattern looks wrong after replacement, recheck that the bulb is seated correctly before considering an aiming adjustment.
Video reference: rubber cover — 1:36 · reconnecting the plug — 1:54.
If something does not fit or work
The spring will not latch: Check that the locating tabs are in their cutouts and the bulb base is flush. Move the spring fully clear while positioning the bulb. Stop if the clip is bent or the catch is damaged rather than forcing it.
The rubber cover will not seat: Check its orientation and make sure the terminals pass through the center correctly. Do not leave the cover loose to make room for a poorly seated bulb.
The new bulb does not light: Switch everything off again and check the connector seating and bulb compatibility. A damaged connector or wiring problem needs attention beyond a bulb swap; replacing the bulb will not repair those faults.
Watch my Tacoma headlight bulb replacement
Watch the full 2007 Toyota Tacoma headlight bulb replacement video on YouTube. The alternate angle near 2:03 is especially useful if you are trying to understand how the locating tabs and spring catch fit together.
Check the SYLVANIA 9003 SilverStar Ultra bulbs on Amazon. Check fitment before buying; this guide describes the spring-retained assembly shown on my truck.
For the manufacturer’s instructions, see the 2007 Toyota Tacoma Owner’s Manual, printed pages 389–391 (PDF copy). My video supplies the hands-on walkthrough; Toyota’s manual is the reference for bulb precautions and the factory replacement procedure.
Explore more DIY and how-to guides · See my Toyota RAV4 stereo installation.