
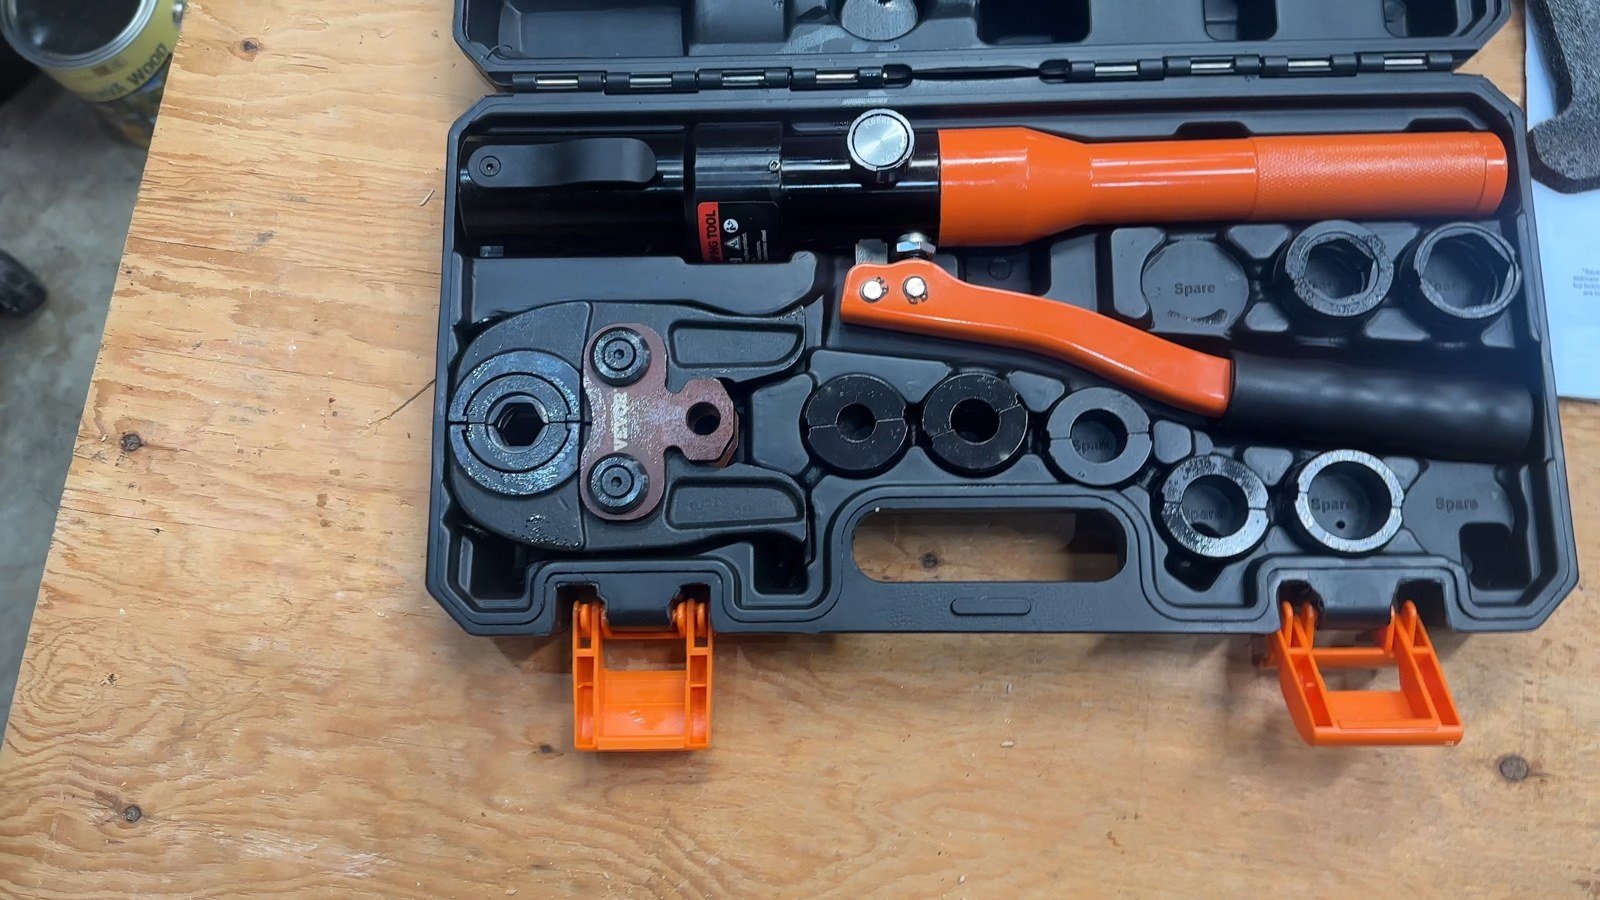
I tried the VEVOR hydraulic PEX crimping tool on a simple workshop project: connecting two pieces of ½-inch PEX tubing with a straight barbed coupling and copper crimp rings. The part I liked most was the manual hydraulic operation. I could work the handle to compress the ring without a battery, an electrical outlet, or a soldering torch.
This VEVOR hydraulic PEX crimper review walks through that demonstration, the interchangeable dies, and what I would check before choosing this kit for a plumbing job. My photos show the actual tool and connection from the demonstration.
Affiliate disclosure: As an Amazon Associate, I earn from qualifying purchases. If you buy through my links, I may earn a small commission at no extra cost to you. It helps support SLVRBCK Troop.
Purchase disclosure: I bought this VEVOR kit at the regular price.
Check the VEVOR hydraulic pipe crimper kit on Amazon
What comes in the VEVOR hydraulic pipe crimper kit?
My kit comes in a molded carrying case with the hydraulic tool, interchangeable dies, a PEX cutter, and a copper tubing cutter. Having the sizes organized in one case is convenient, especially when I am changing between jobs instead of keeping several separate tools together.
The tool itself feels substantial. It has a hydraulic pumping handle and a release valve to take the pressure off after the crimp. I also show the retaining mechanism used to change the die assembly.
PEX crimp rings and copper press fittings use different jaws
This is an important distinction when shopping for the kit. VEVOR lists eight die sizes across two connection systems:
| Connection system | Listed die sizes |
|---|---|
| ASTM F1807 PEX copper-ring connections | ⅜, ½, ⅝, ¾, and 1 inch |
| VUS-profile copper press connections | ½, ¾, and 1 inch |
That means five PEX sizes plus three copper press sizes. The demonstration in this article uses the ½-inch PEX die. I did not demonstrate the copper press jaws in this test.
Match the jaw profile and size to the exact fitting system. A ½-inch copper press jaw is different from a ½-inch PEX copper-ring die. Copper press fittings also differ from ordinary compression fittings with a nut and ferrule. Before buying fittings, confirm that their manufacturer approves the tool and jaw combination for that system; a matching size alone is not enough.
You can compare the included sizes with VEVOR’s eight-die kit listing. Check the selected kit, since VEVOR sells similar-looking versions with different jaw sets.
My ½-inch PEX coupling demonstration
I used blue ½-inch PEX tubing, a ½-inch straight barbed coupling, and matching copper crimp rings. This was a workbench demonstration of the tool’s operation. The finished appearance alone does not establish that a connection is ready for service.
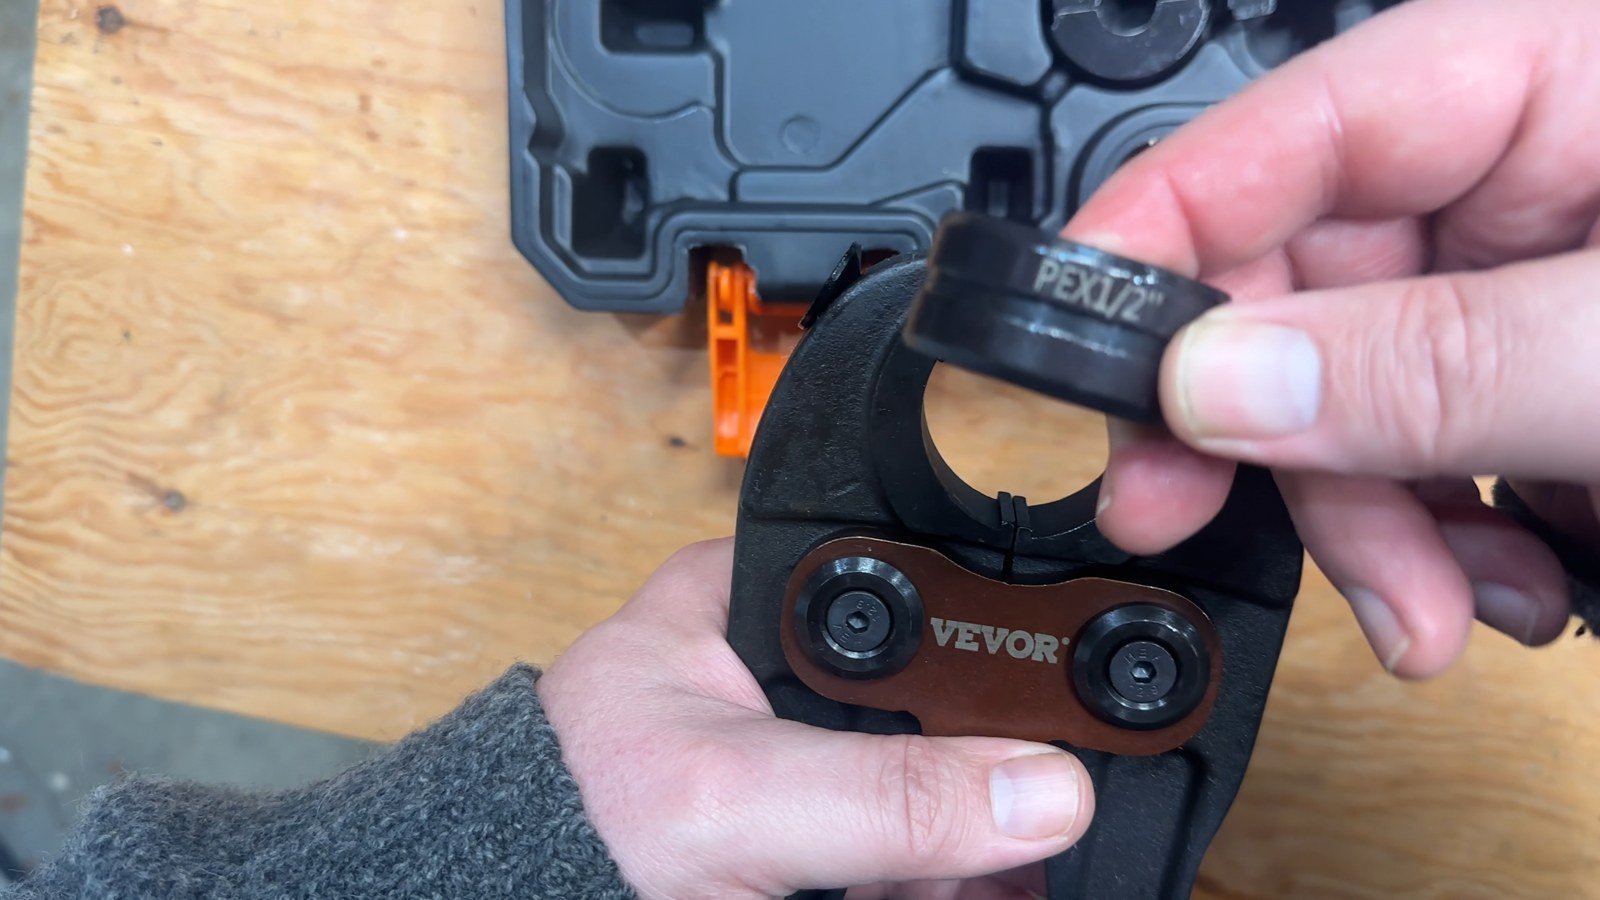
1. Install the correct PEX die
With the tool’s hydraulic pressure released, I selected the die marked for ½-inch PEX. I rotated the retaining piece to remove the existing assembly, fitted the correct one, and secured the retainer again. Make sure both die halves are properly seated and retained before pumping the handle.
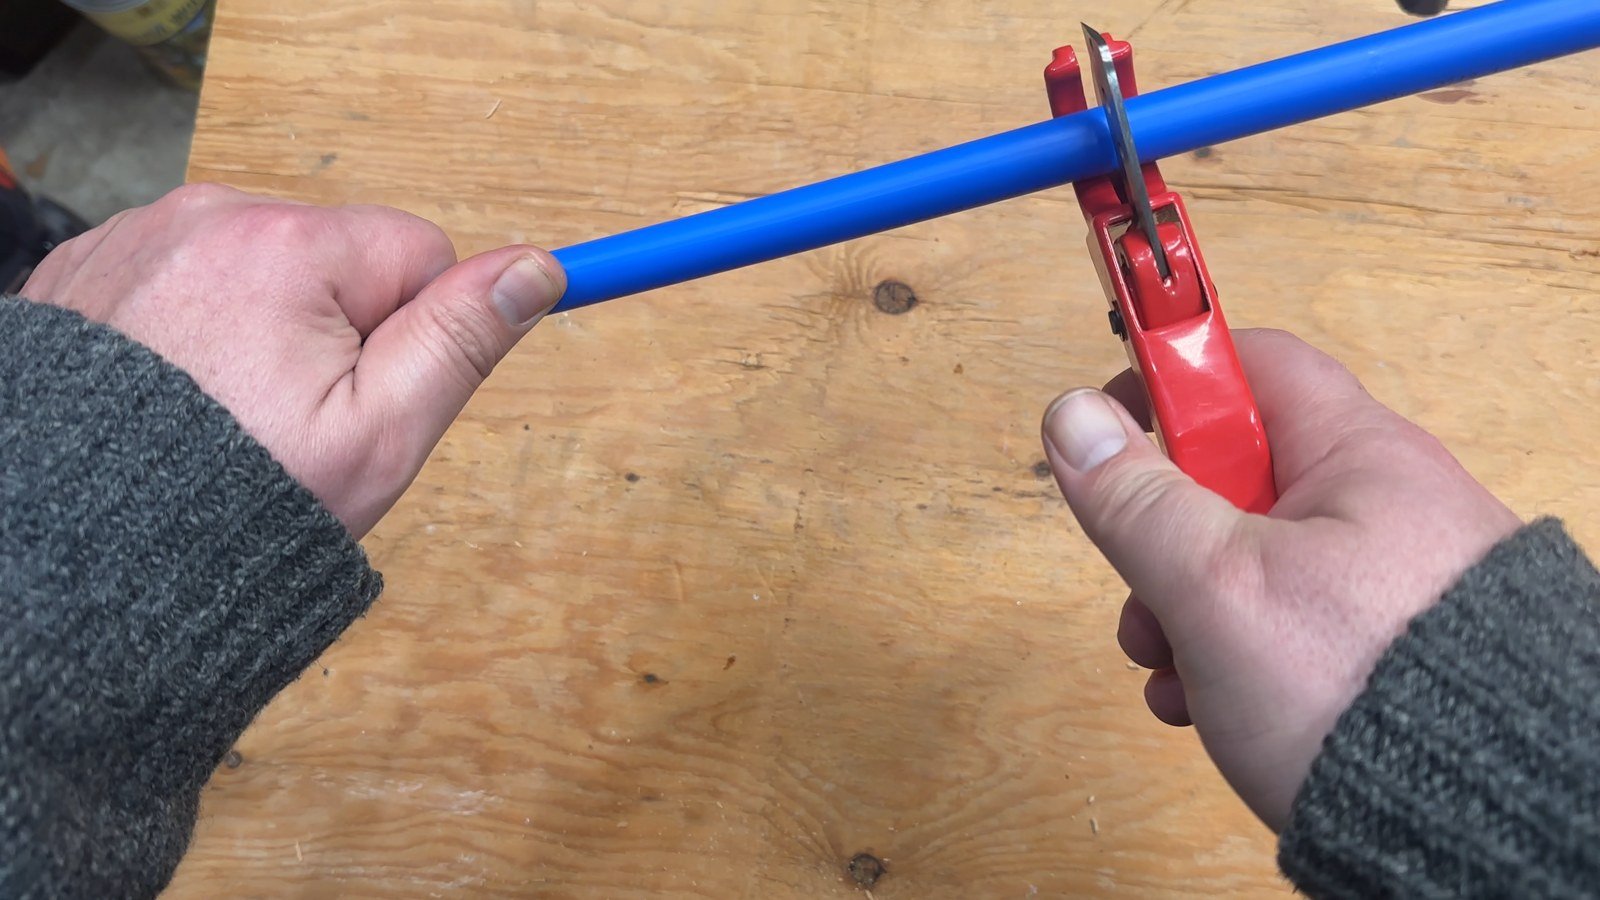
2. Cut the tubing square
The included PEX cutter made quick work of the tubing. Start with a clean, square end and check for damage or debris before assembling the fitting. An uneven end is a poor starting point for a connection you will eventually rely on.
3. Put the ring on before inserting the fitting
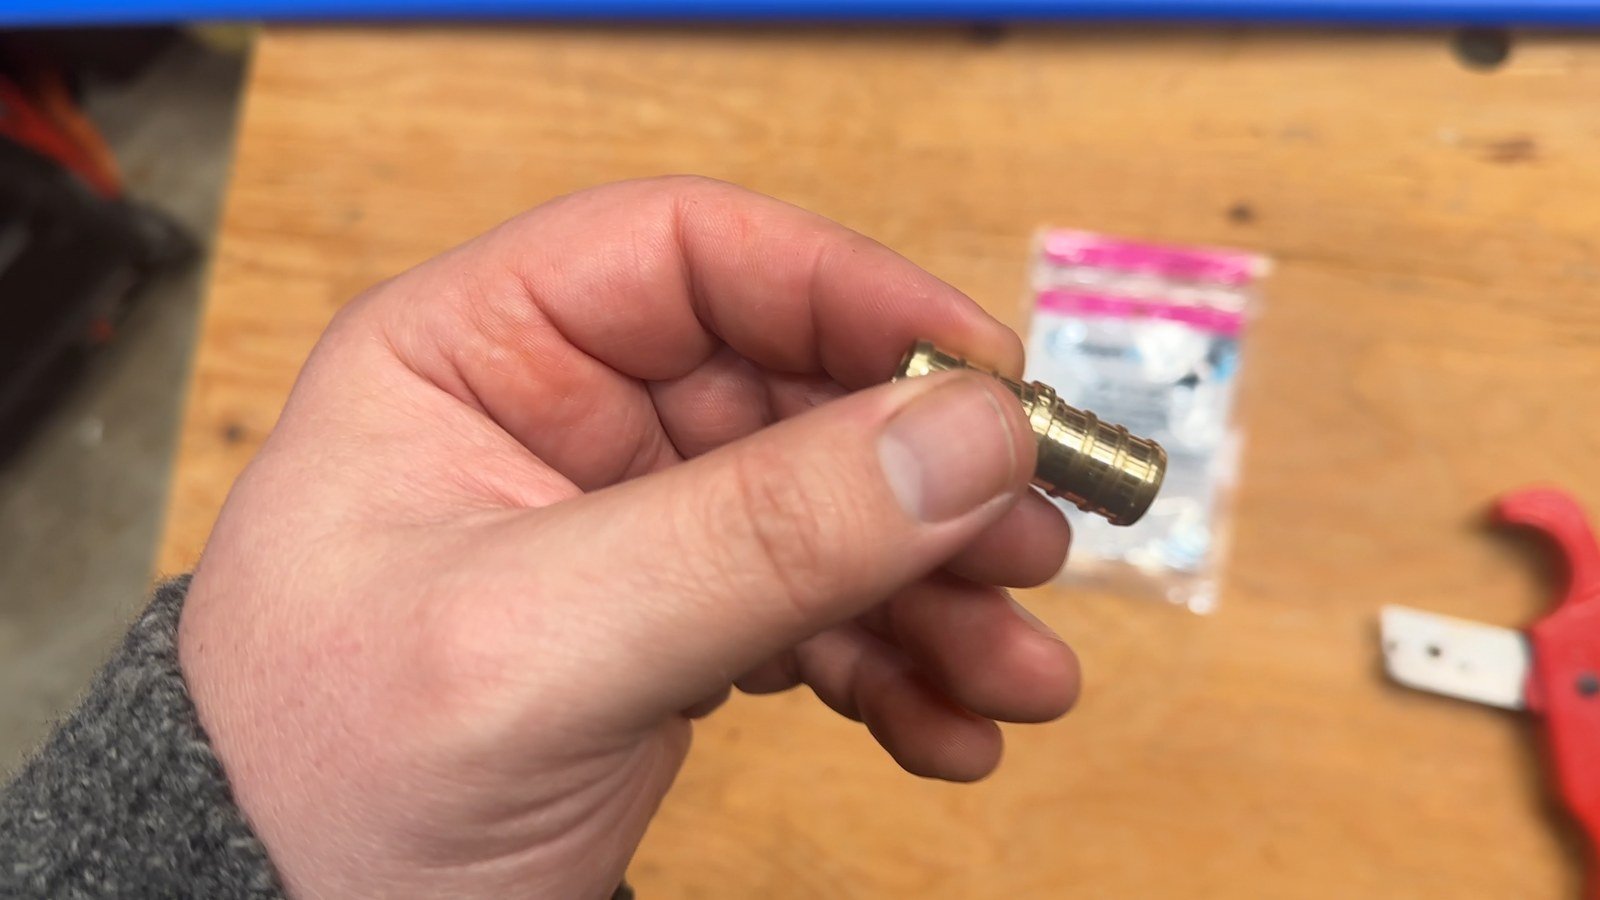
This is the small step I always try to remember first: slide the copper crimp ring onto the tubing before inserting the coupling. Fully seat the tubing on the barbed fitting, then position the ring according to that fitting system’s instructions. Repeat the assembly on the other side.
For reference, SharkBite’s copper-crimp instructions specify the ring ⅛ to ¼ inch from the end of the tubing, with the tubing seated against the fitting shoulder. Follow the requirements for your own components. The SharkBite PEX installation guide explains the positioning and inspection steps.
4. Center the jaws and pump the hydraulic handle
I positioned the jaws around the ring and worked the pumping handle. Keep the dies centered over the ring and square to the tubing, with fingers clear of the jaws. Follow the VEVOR manual’s completion indication and pressure-release instructions; handle resistance by itself is not a measurement of a correct crimp.
The hydraulic action was straightforward to use in my demonstration. That is the appeal of this setup for me: repeated handle strokes provide the crimping force, and I do not need to keep a power-tool battery charged.
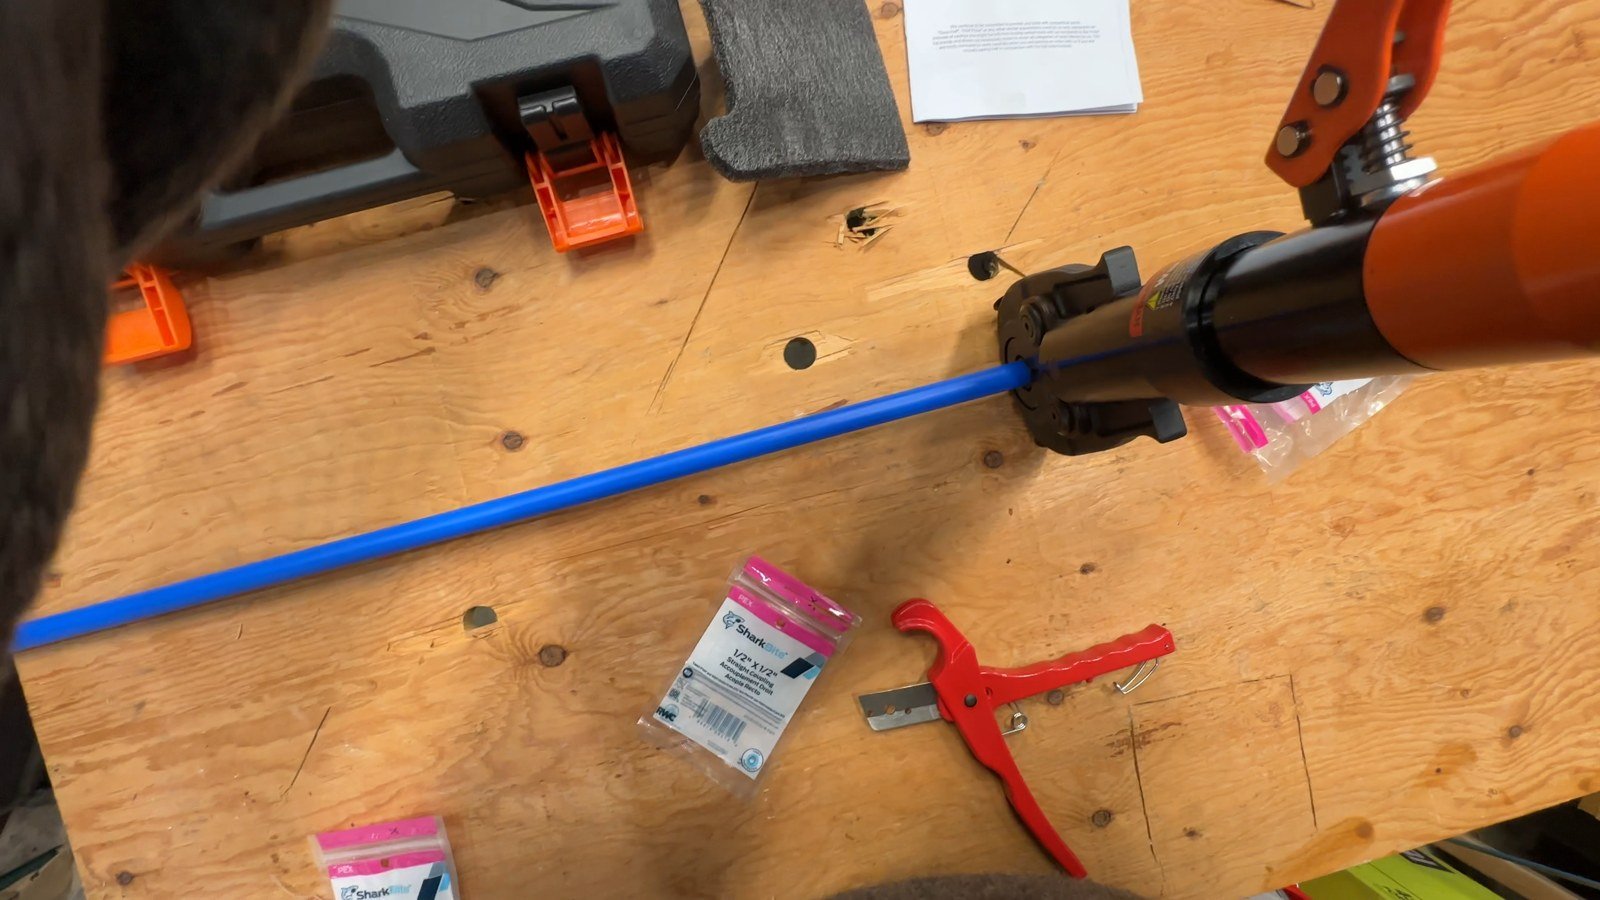
5. Release the tool and repeat on the other side
After the first crimp, I used the release valve to relieve hydraulic pressure, opened the jaws, and removed the tool. I then repositioned it over the second ring and repeated the process, making sure the tool was ready to build pressure again.
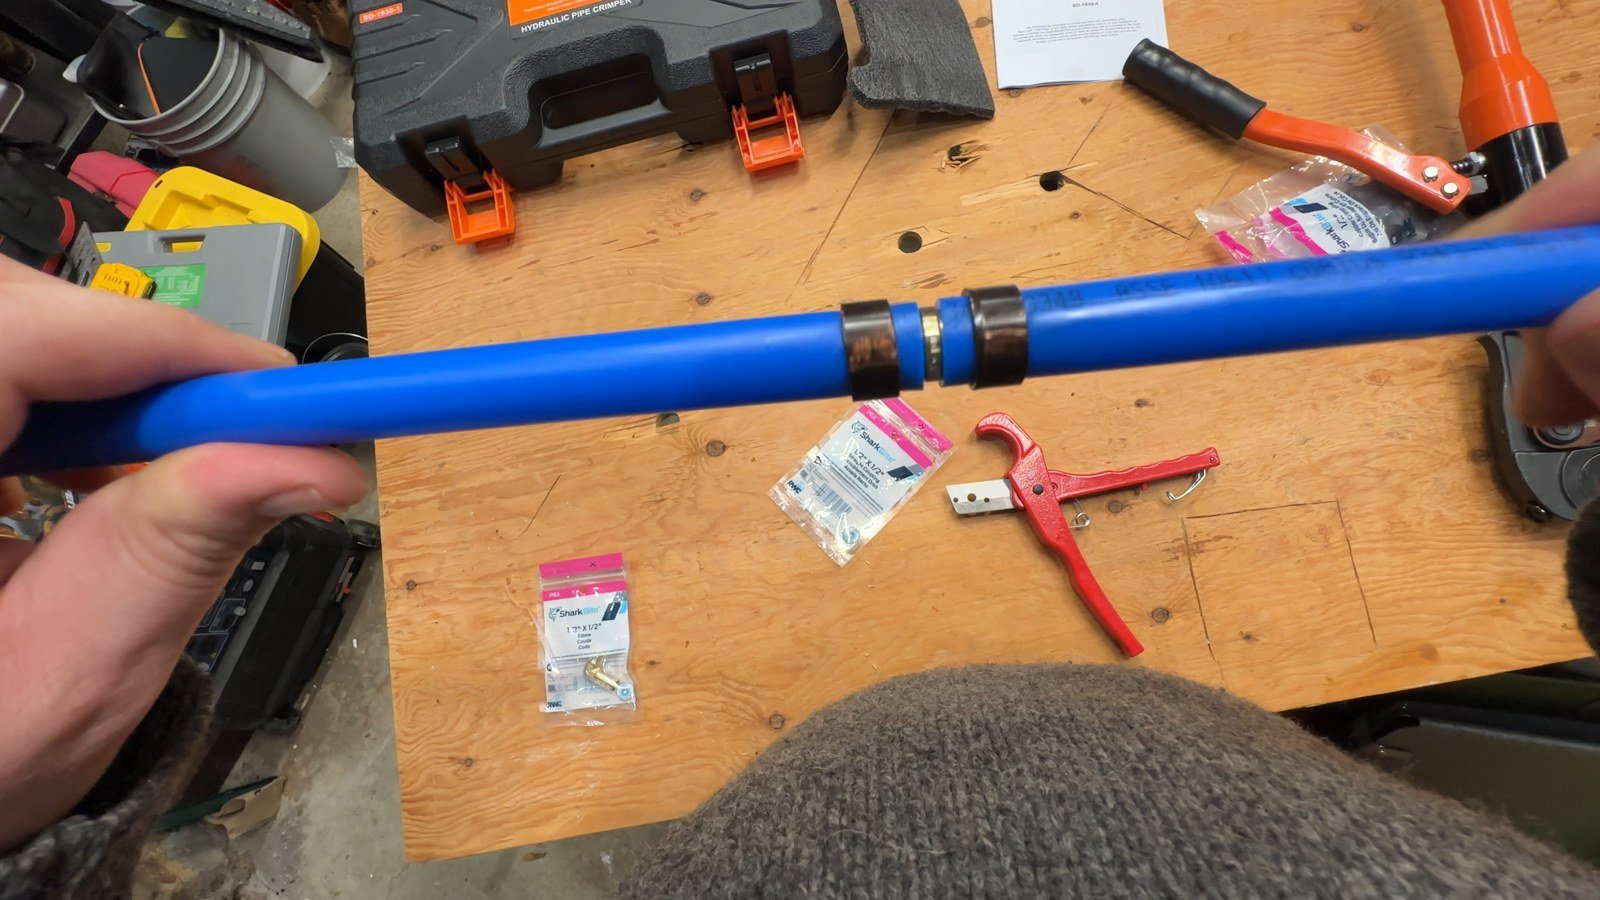
6. Inspect and test before putting it into service
Use the correct-size Go/No-Go gauge to inspect each copper crimp ring according to the fitting and gauge instructions: the Go opening should fit over the finished crimp and the No-Go opening should not. If a connection fails inspection, correct the tool or assembly issue and remake it as directed by the fitting manufacturer.
Inspecting the ring is one check; the completed plumbing system also needs the prescribed pressure/leak test before use or concealment. My demonstration does not include an in-service pressure test or a long-term leak evaluation. Follow the component instructions and applicable plumbing requirements for the actual installation.
What I liked, and what I would check before buying
The strongest points for me are the manual hydraulic operation, the choice of dies, and the organized carrying case. The PEX cutter is handy to have alongside the crimper, and changing to the ½-inch setup was straightforward once I had the retaining mechanism figured out.
I would still measure the space around a planned connection. VEVOR advertises a rotating head, but the head and pumping handle need clearance to work. My open-workbench demonstration does not establish that it will fit behind a particular fixture or between closely spaced pipes.
This kit makes the most sense to me if you want a battery-free option and will use several compatible sizes. If you only need occasional PEX connections in one size, compare its bulk and setup process with a dedicated manual PEX crimper. For copper press work, verify fitting approval before treating the extra jaws as a replacement for another press system.
My verdict on the VEVOR hydraulic PEX crimper
I liked how simple the hydraulic operation felt in this ½-inch PEX demonstration. The range of dies gives the kit flexibility, and keeping the cutters and crimper together makes it a useful setup to consider for compatible pipe work. The key is choosing the right jaws, preparing the connection carefully, and checking the result before using it.
Watch my VEVOR hydraulic pipe crimper demonstration on Amazon
See the VEVOR kit on Amazon · More product reviews · DIY & how-to articles