
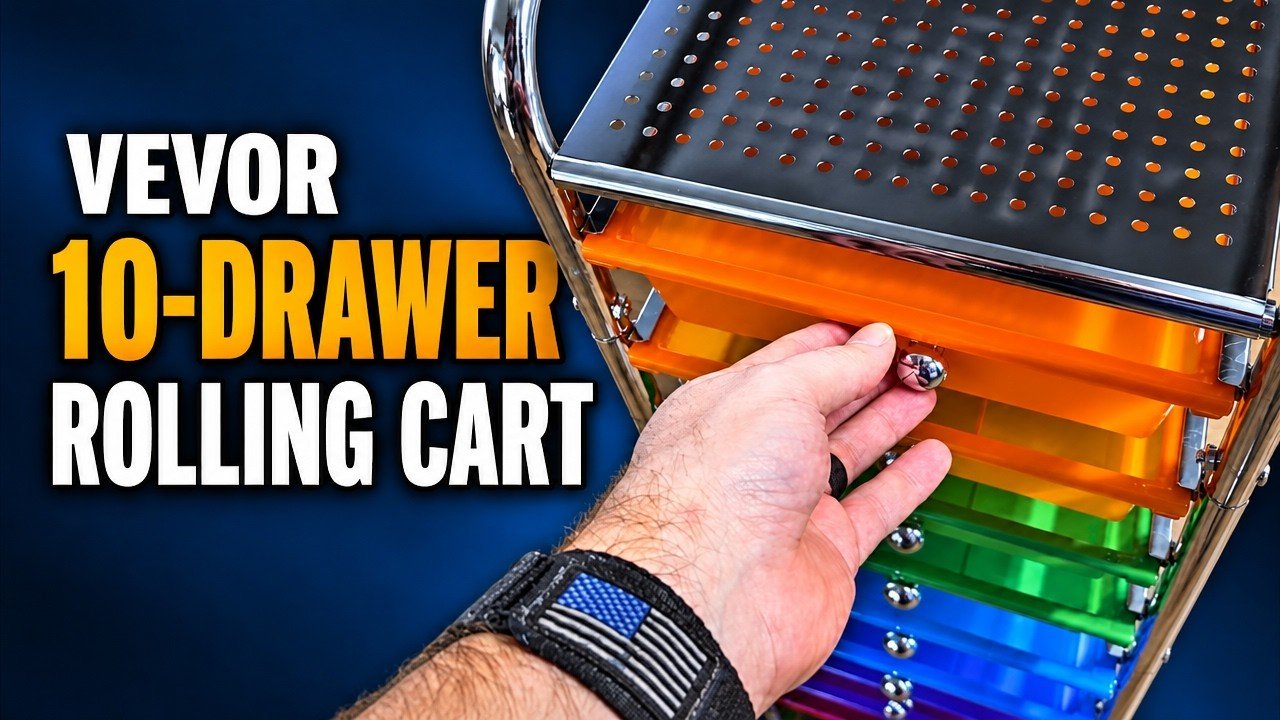
The most useful thing I can tell you about assembling this VEVOR rainbow cart is to put the top on before you attach the second side. Once the frame is closed up, the top can’t slide over the uprights the way it’s supposed to. I walk through that step in the video, along with where the X-brace goes and which wheels I put up front.
Once mine was together, the drawers pulled out easily, didn’t push through the back, and barely rattled when I moved the cart. They’re shallow, so I’d use this for small supplies I want to sort and grab, not for bulky tools.
Review sample: VEVOR sent me this cart to try.
Affiliate disclosure: As an Amazon Associate I earn from qualifying purchases. If you buy through the link below, I may earn a commission at no extra cost to you.
See the VEVOR 10-drawer rainbow cart on Amazon
What fits in the 10 drawers?
The cart has ten shallow plastic drawers in five colors, a metal frame, and a perforated metal top. VEVOR lists model TCDP10CPSF at 15.6 inches deep, 13.2 inches wide, and 39 inches high, with drawers listed at 15.2 by 11.2 by 2.8 inches. Those are the listed dimensions. If you’re buying it for a specific item, leave some room around the item rather than counting on the full drawer dimensions as clearance.
I’d use the colors to group things like craft supplies, office supplies, or small hardware. If you’re measuring a spot beside a desk or workbench, check the space in front as well as the width of the gap. You’ll need room to pull a drawer forward, especially if you want to take it out and carry it to the bench.
Five assembly steps I’d check before tightening
- Face the drawer slides the same way. Lay the two sides out and check the direction before you join them. I started the bolts loosely so I could still line up the frame.
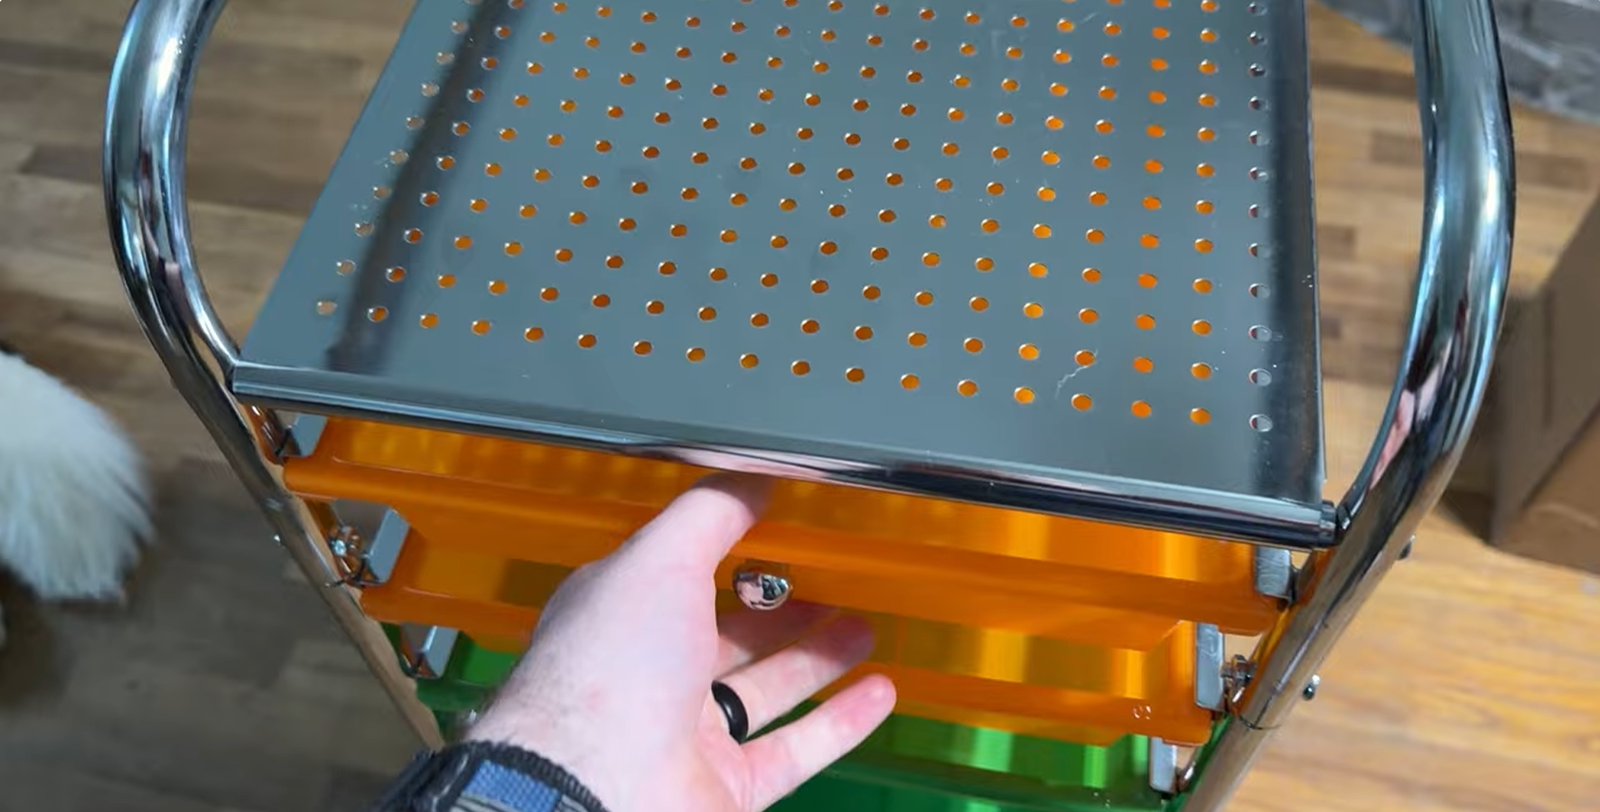
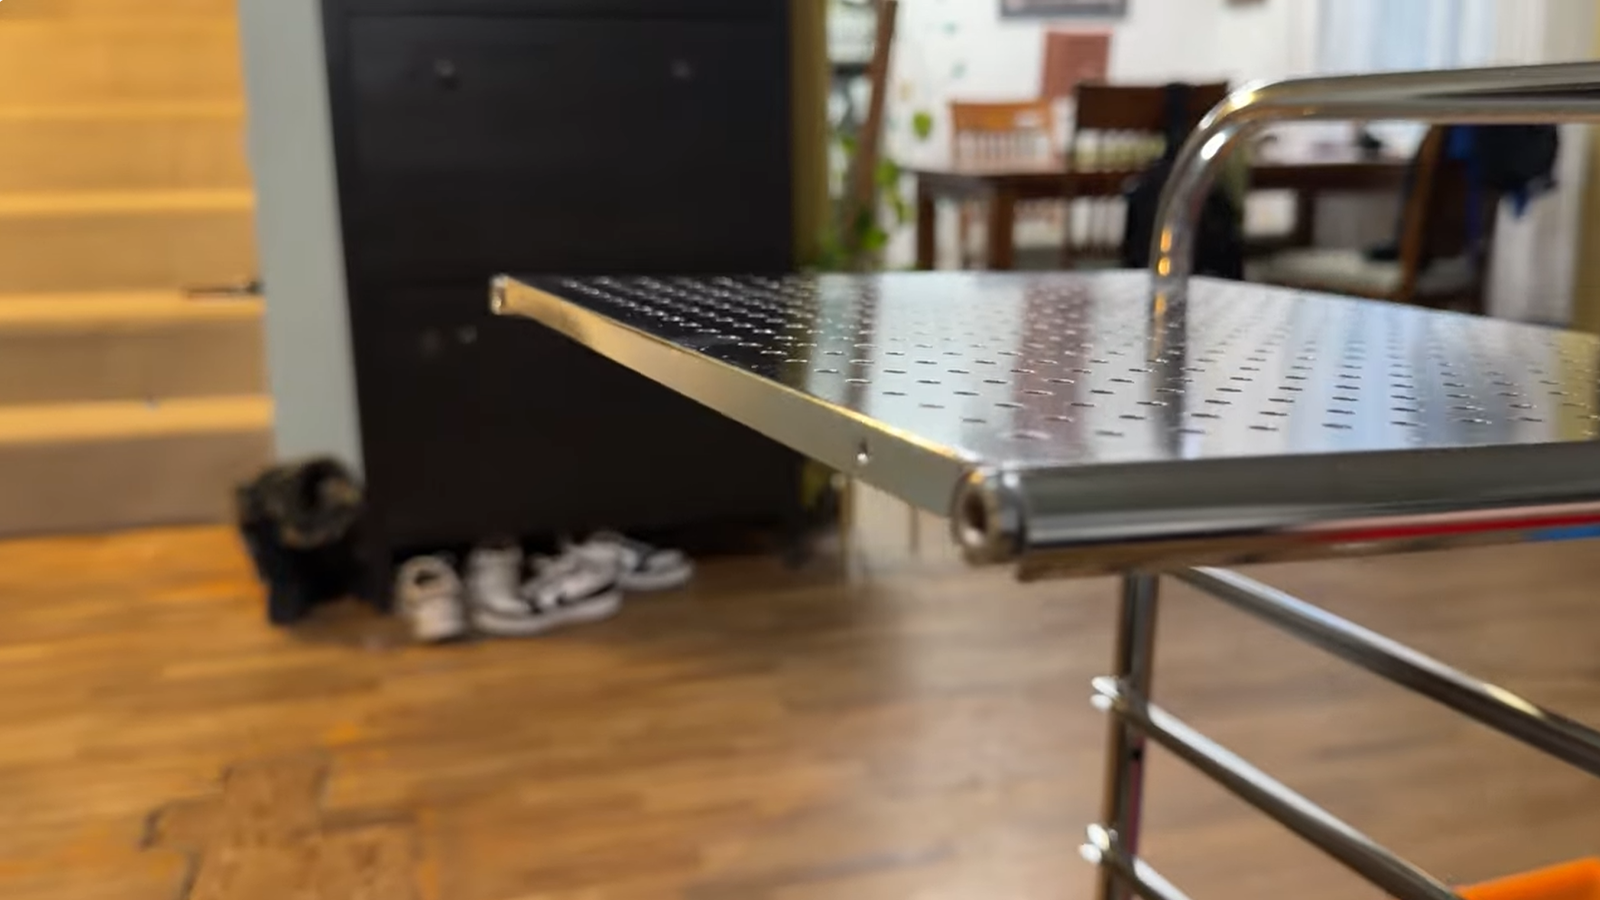
- Slide the top onto the uprights before closing the second side. This is the step I’d watch first if the top won’t go on. See how the top fits.
- Put the fluted plugs in the feet before fitting the lower base. Here’s where the plugs go. If you want the cart to sit without its wheels, I’d still leave the plugs in.
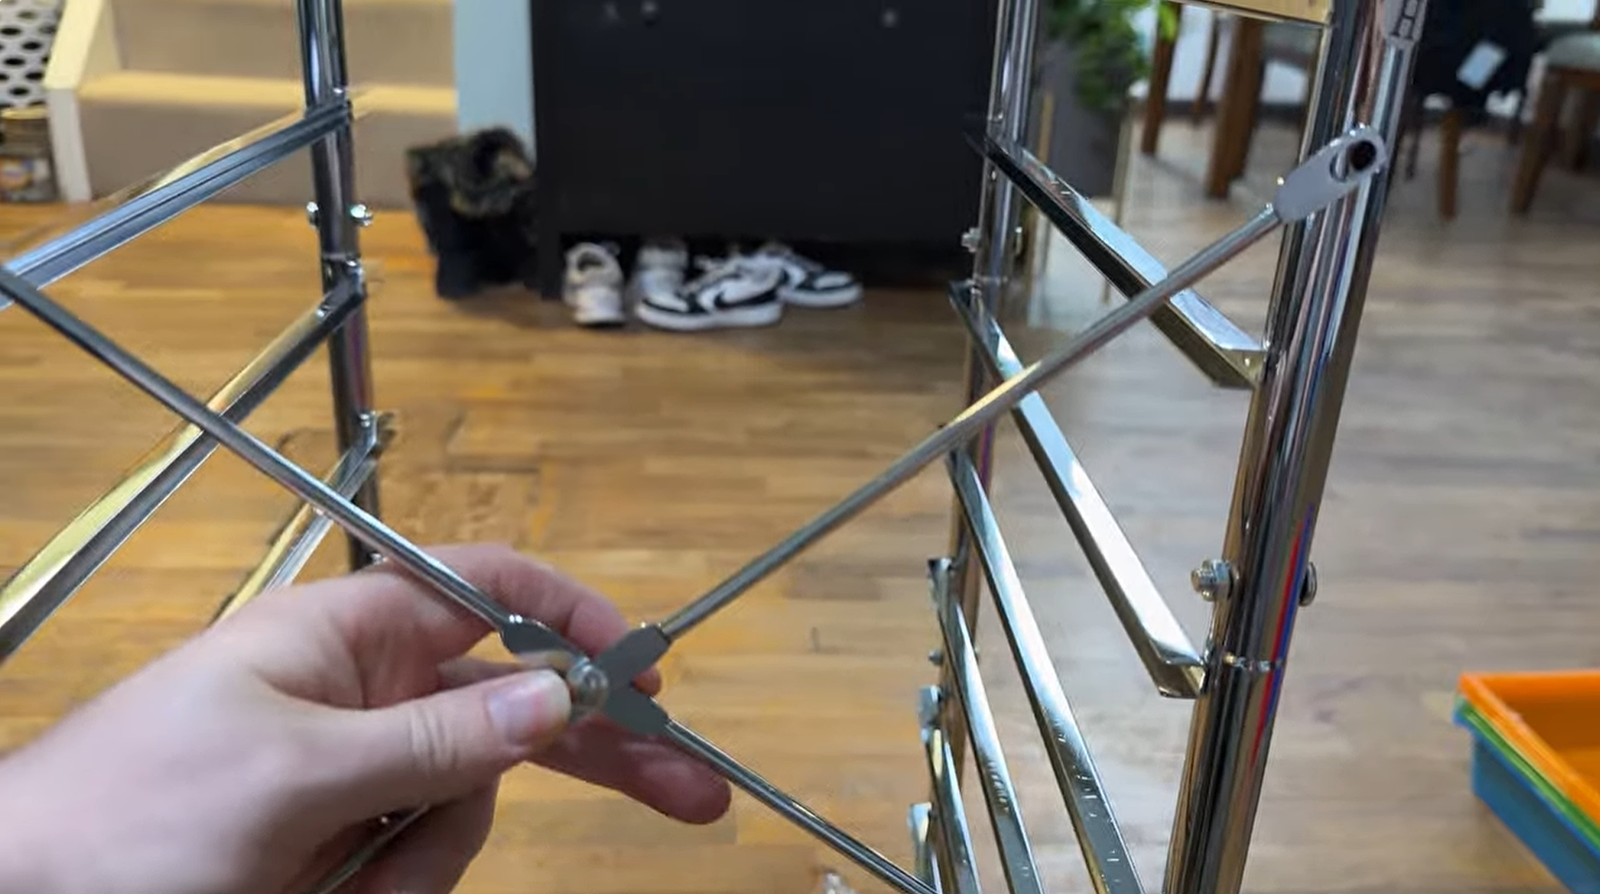
- Keep the X-brace holes on the same rear face. If they don’t line up across the back, check the orientation of the frame before forcing the brace into place. See the rear brace.
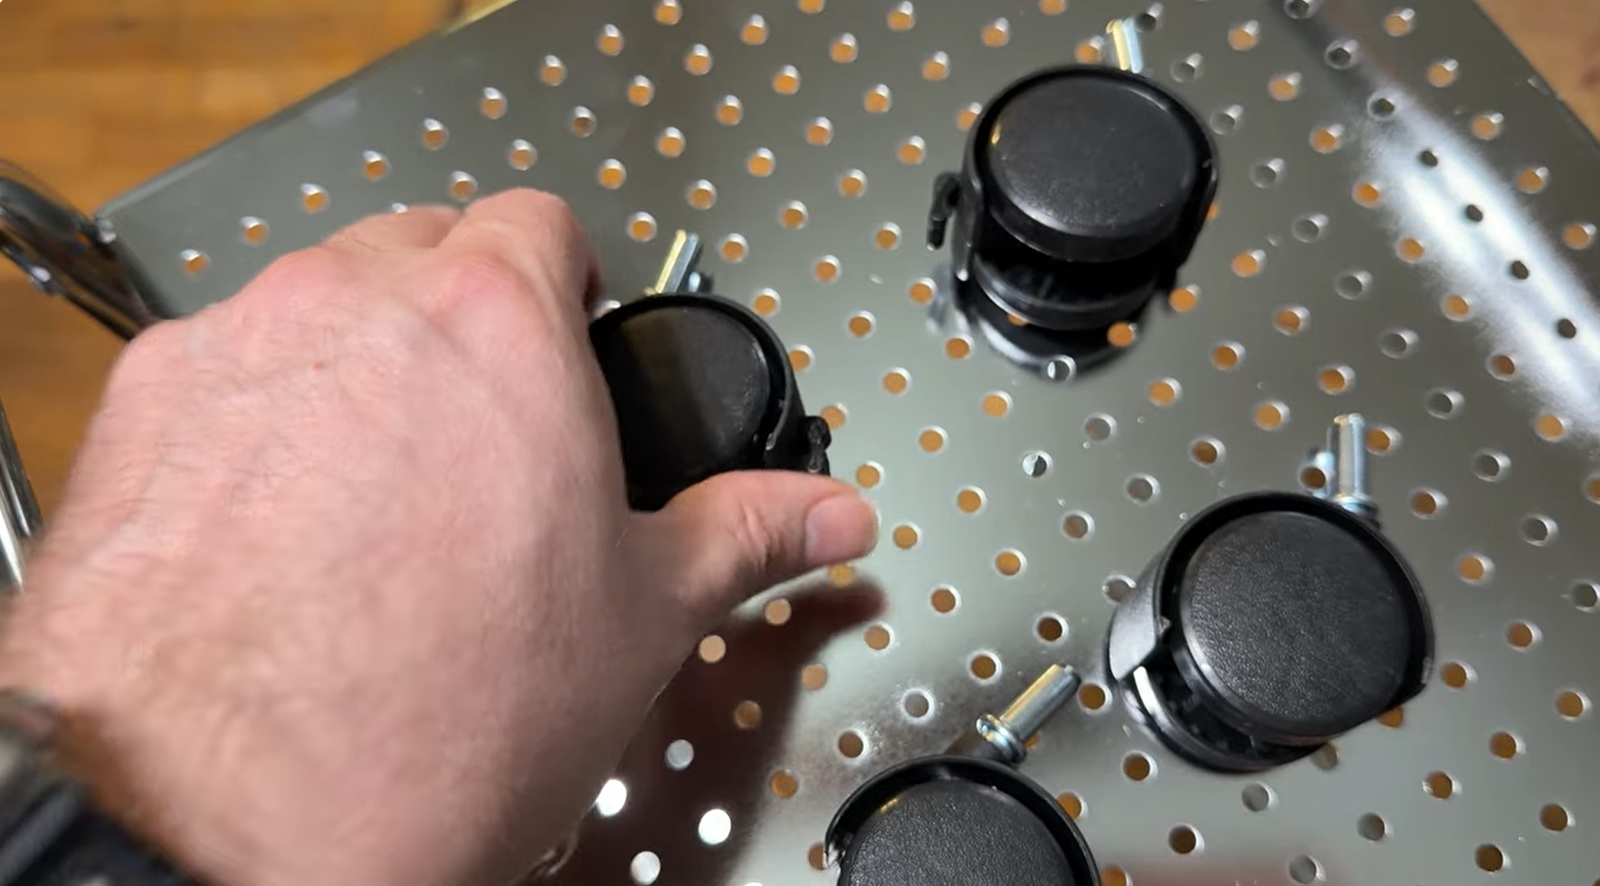
- Put the locking casters up front. I installed the two locking wheels on the side opposite the X-brace so the brakes are easy to reach. See the caster placement.
Would I use it in a garage?
I’d use it as a narrow organizer for light supplies or small parts. The drawers, knobs, and wheels are plastic, and I didn’t test the cart with a heavy load. If what you need is deep storage or a cart for a pile of power tools, I’d shop for something built around that job instead.
For another small workshop setup, see my first run with the VEVOR mini rotary tumbler.